
What Should You Know Before Your Breast Augmentation Consultation in San Francisco?
Overview
The consultation is where the real work happens, and everything about your surgical result starts in that room.
I’ve been doing this for 25 years, and the patients who get the best outcomes are the ones who show up prepared.
This guide covers what to research beforehand, what happens during the appointment, and the key decisions we’ll make together.
Surgery runs 60 to 90 minutes, most patients resume social activities within a week, and full exercise clearance is around 4 to 6 weeks.

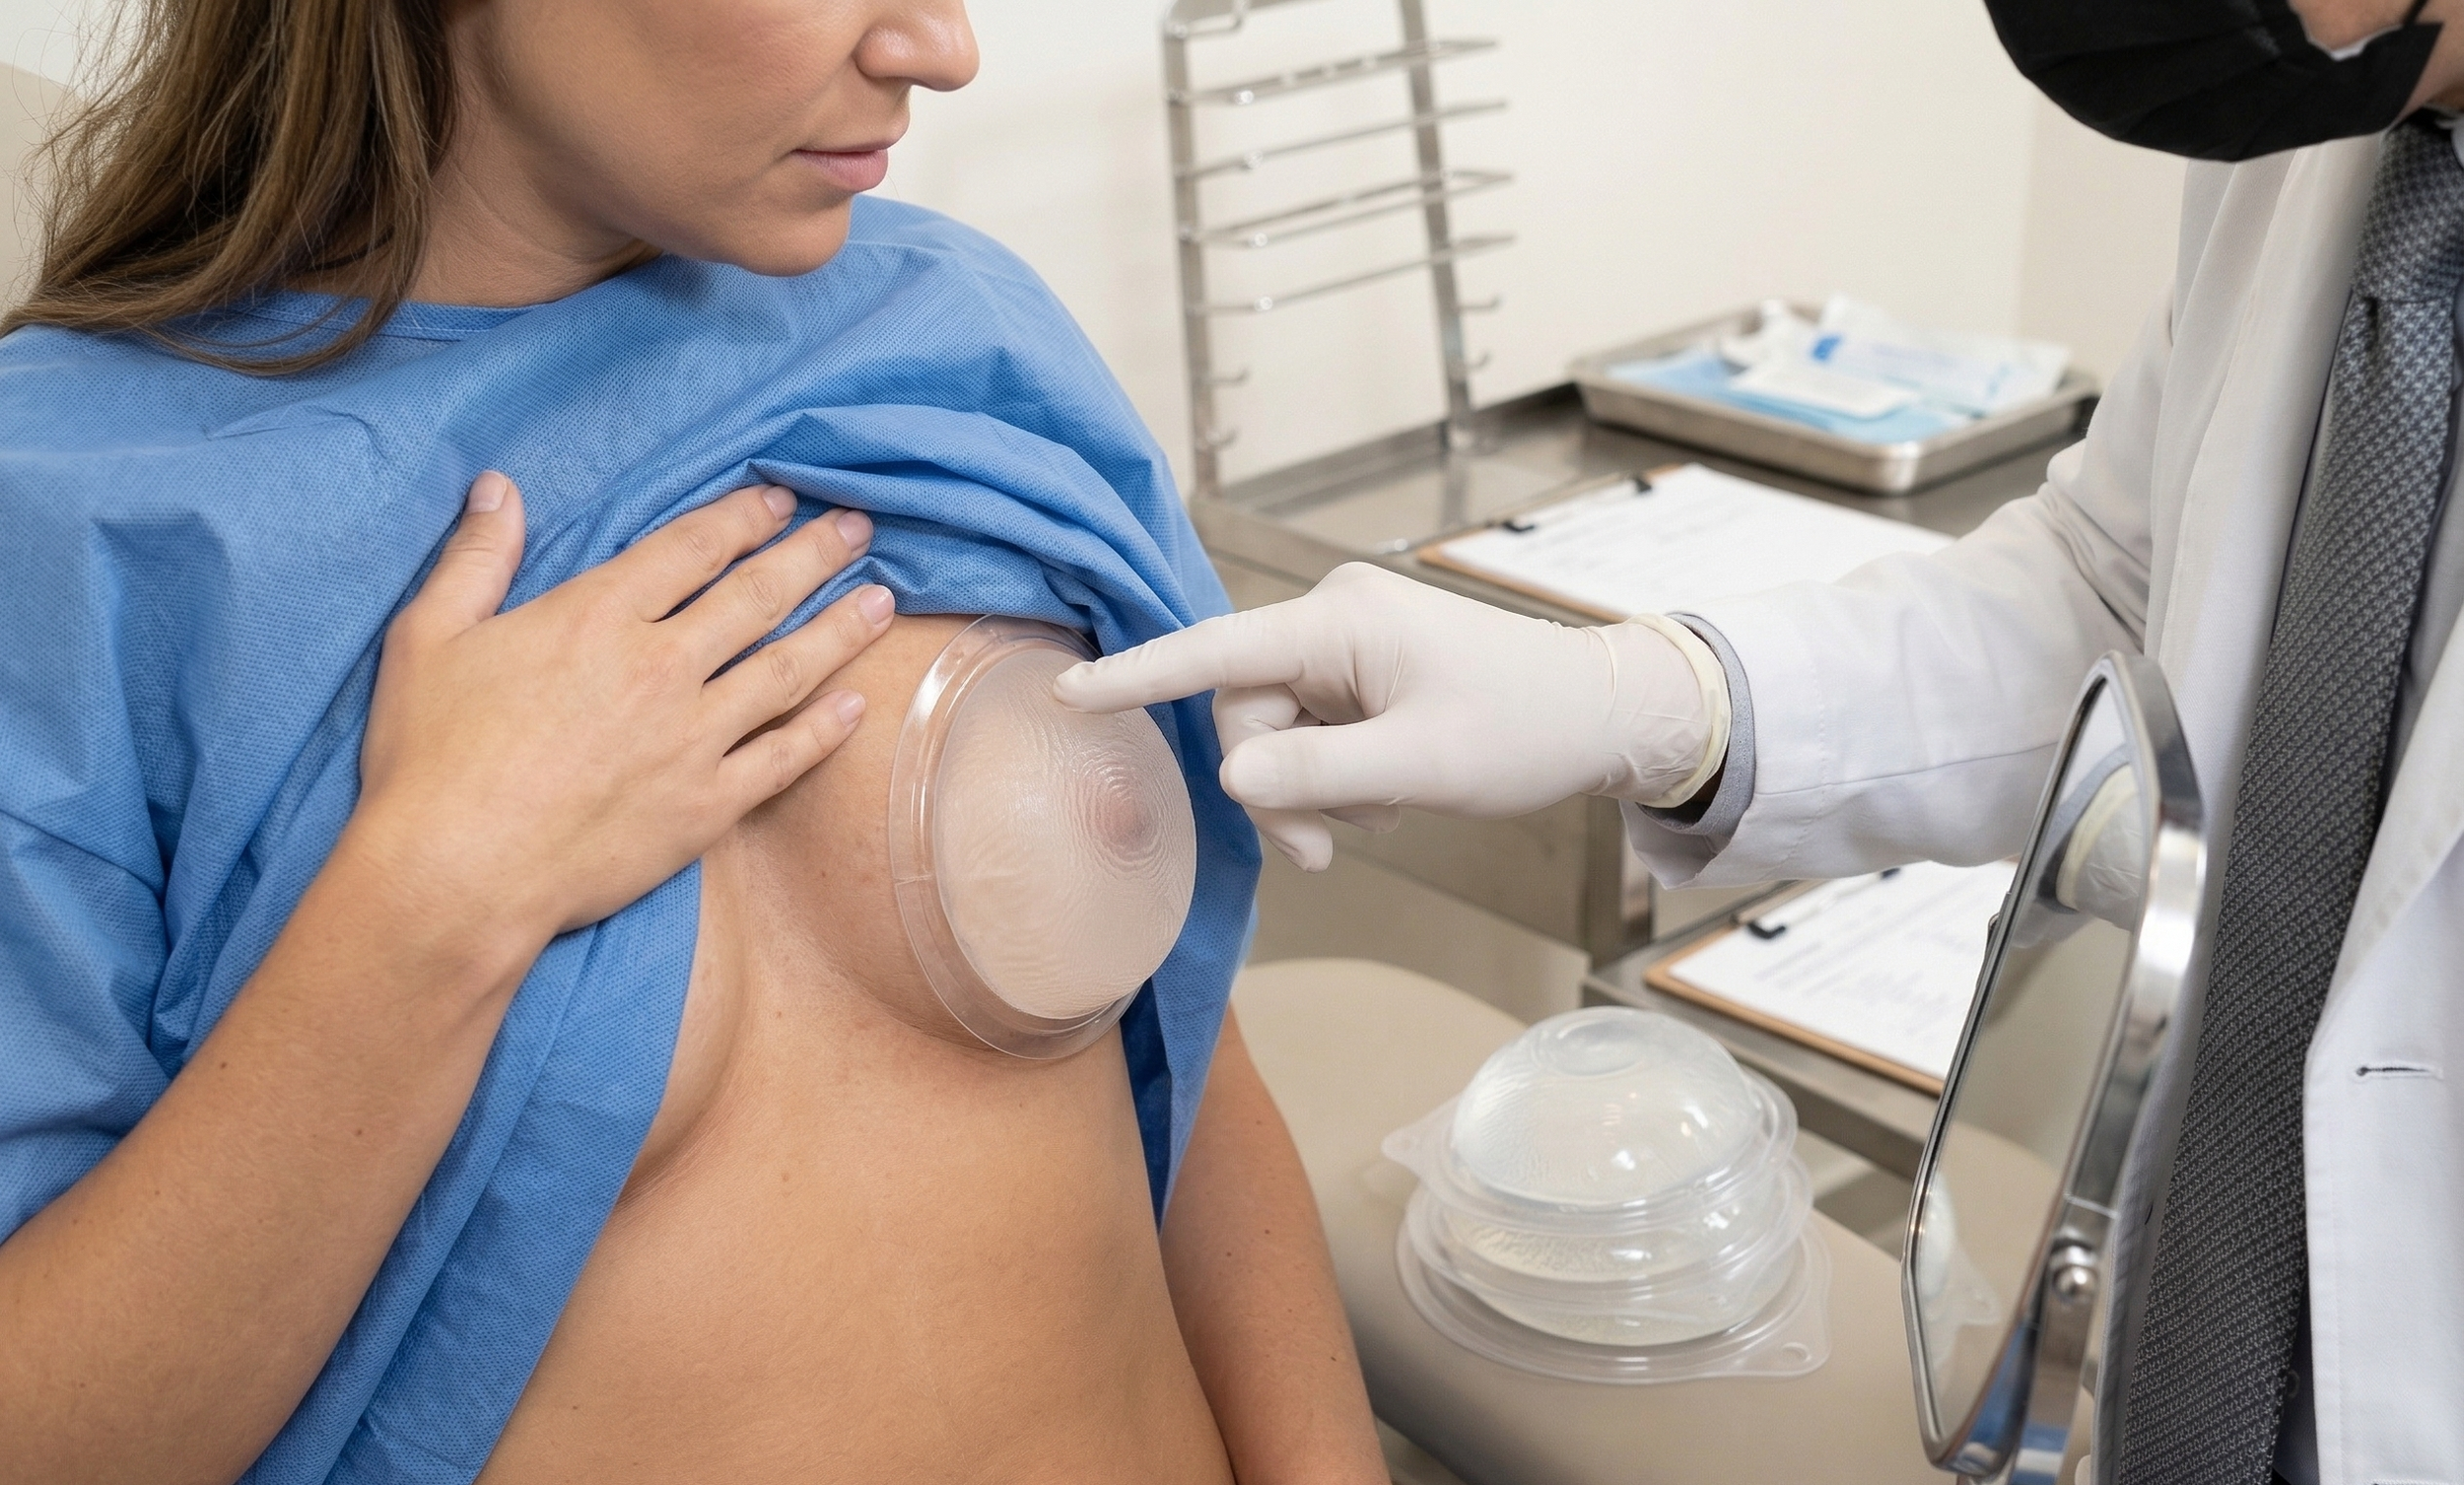
a woman getting a breast augmentation consultation with a plastic surgeon in an office setting
Quick-Reference: What to Do Before Your Appointment
Bookmark this section. Patients who come prepared get more out of their time.
Verify your surgeon is certified by the American Board of Plastic Surgery (30 seconds on the ABPS website)
Research the overall look you want. Browse before-and-after galleries and save 5 to 10 photos of results you like AND results you don’t like. This visual reference is the fastest way to communicate your aesthetic to your surgeon.
Learn what you are comfortable learning about implant options. The technical details (shell type, fill material, profile, footprint) are topics even plastic surgeons debate at conferences. You don’t need to master them, but familiarity helps the consultation feel less overwhelming.
Write down your questions, including the ones that feel too basic to ask
Wear a sports bra or fitted top that shows your current shape
If you’ve had prior breast surgery, bring records of your implant type, size, and placement
Note your activity level: heavy weightlifting, CrossFit, or intensive upper body training affects the surgical plan
Plan your schedule: 5 to 7 days of social downtime, 4 to 6 weeks before full exercise clearance
Schedule your consultation (415-362-1846)
1. Board Certification: The First Filter
Look for a plastic surgeon certified by the American Board of Plastic Surgery. ABPS certification means your surgeon completed a residency specifically in plastic and reconstructive surgery, passed rigorous examinations, and meets ongoing education requirements in the specialty. You verify this in about 30 seconds on the ABPS website, and it’s the single fastest way to narrow your search.
2. How Sizing Works
Most patients come in with a cup size in mind, and I take that as a useful starting point. The issue is that cup sizing varies wildly between bra brands, so we work from measurements, not labels. During the consult, I evaluate:
Torso dimensions and breast base width
Existing breast volume and skin laxity
Chest wall shape and tissue thickness
Your aesthetic preferences (an athletic, understated look leads to a different implant than visible upper pole fullness)
Activity level (heavy lifting, CrossFit, or high-intensity upper body training directly influences placement)
A patient from Pacific Heights came in asking for a specific cup size she’d seen on a friend. After measuring, her chest wall was significantly narrower. The same implant that looked natural on her friend would have looked oversized on her. We found the right volume for her body, and she loved the result.
3. Silicone vs. Saline: The Key Differences
Most of my patients choose silicone gel. In most cases, I agree with that choice. Modern cohesive gel implants ("gummy bear" is a generic marketing term for all silicone gel devices) feel close to natural breast tissue and ripple less than saline. [LINK: San Francisco Breast Augmentation: Choosing Smooth or Textured Shell Implants]
Silicone gel
Softer, more natural feel
Lower rippling risk, especially for patients with thin tissue
Pre-filled by the manufacturer
Saline
Adjustable volume during surgery
Firmer feel with higher rippling risk in lean patients
Lower cost
Profiles
Implants come in low, moderate, and high projection levels. A narrower chest often pairs with a higher profile for projection without excess width. A wider chest with a moderate profile distributes volume laterally for a subtler look. Your measurements guide the right combination.
4. Implant Placement and Incision
My preferred approach for most patients is subfascial placement: the implant goes behind the fascia (the strong tissue layer covering the pectoral muscle) rather than behind the muscle itself.
Provides tissue coverage over the implant without cutting the pectoral muscle
Eliminates animation deformity (the visible breast distortion with sub-muscular placement when you flex)
Ideal for active patients who lift weights, do CrossFit, or train upper body
Allows normal arm use from day one since the muscle stays intact
A CrossFit athlete from the Marina came to me after having sub-muscular implants placed elsewhere. Every time she did a bench press, her breasts would visibly shift. We revised her to subfascial placement, which solved the problem entirely, and she was back training within six weeks.
Incision: I typically use the inframammary approach (in the fold under the breast) for the best visibility and a scar that settles into a hidden crease. Periareolar and transaxillary are alternatives depending on your anatomy. I walk through all of this during the consultation. If you have questions, call 415-362-1846.
5. My Rapid Recovery Protocol
Recovery from breast augmentation used to mean a week or two of real discomfort and narcotic painkillers, but that is not how I approach it anymore. I use a multi-step Rapid Recovery protocol, and the difference is dramatic.
Optimized anesthesia: my anesthesiologists specialize in minimizing post-operative pain and nausea from the start
72-hour numbing injections: a long-acting local anesthetic placed at the end of surgery keeps the area comfortable for about three days
Regional nerve block: targeted numbing at the sensory nerves of the breast and chest wall, significantly reducing pain while preserving movement
No narcotics: the vast majority of my patients manage with Tylenol (acetaminophen) alone
Normal arm use from day one: subfascial placement leaves the muscle intact
Most patients describe their recovery as tightness and pressure rather than sharp pain, and some are genuinely surprised by how good they feel on day two. [LINK: Accelerated Recovery: The San Francisco Guide to a Faster Breast Augmentation]
6. Recovery Timeline
Days 1 through 3: Rest at home, and expect some tightness, which is completely normal.
Days 5 through 7: Most patients are comfortable with light desk work or remote meetings. Many patients working in the Financial District or South of Market take a full week off and then resume from home.
Week 6: Full exercise clearance including upper body and chest training.
Months 3 through 6: This is when the "drop and fluff" phase completes, meaning implants that sit higher right after surgery gradually settle into a more natural, relaxed position.
[LINK: The San Francisco Bay Area Recovery Guide: 10 Essentials for Planning Your Breast Augmentation]
7. Breastfeeding, Mammograms, and Nipple Sensation
These three come up in nearly every consultation with patients in their late 20s and 30s.
Breastfeeding: Most women breastfeed successfully after augmentation because subfascial placement with an inframammary incision leaves the milk ducts and glandular tissue intact. [LINK: Breastfeeding After Augmentation: 9 Common Questions for San Francisco Bay Area Moms]
Mammograms: Mammograms are not affected in a clinically meaningful way, though you should let your radiology technician know about your implants so they use Eklund displacement views, which is standard practice across the Bay Area.
Nipple sensation: Temporary sensitivity changes are common in both directions. Normal sensation returns within a few months for the vast majority. Permanent changes are uncommon but possible, and I discuss this openly.
8. Previewing Your Results: Sizers and Visualization Tools
In the office (most accurate)
This is the part that software does not replicate, and it is the most valuable step in choosing your size.
You try on physical sizers in front of a mirror, in different bras and tops
You feel the weight on your body and see the proportions from multiple angles
You squeeze them, shift them, and get a real sense of what a particular volume will feel like on your frame
Patients who are torn between two sizes often know within seconds once they’re holding sizers
At home (useful starting point)
The major implant manufacturers offer free 3D visualization apps on iOS and Android
Upload a few photos from your phone and the software generates a simulation of different sizes and profiles
Limitations: they do not account for skin laxity, tissue stretch, or the physical sensation of added volume
Think of the apps as a conversation starter, not a final answer
Patient trying on implant sizers during consultation
[LINK: Planning Your New Silhouette: A Guide to Visualizing Breast Rejuvenation in the Bay Area]
Myths Worth Correcting
"Bigger implants always look fake." Size alone does not determine whether a result looks natural because proportionality is what matters. The right volume for your anatomy creates a convincing look regardless of the cc number.
"Recovery takes weeks of bed rest." That idea is outdated. With the Rapid Recovery protocol, most patients are back to light activity within a week on Tylenol alone.
"The consultation is a sales pitch." If it feels like a sales pitch, you are in the wrong office. I’ve told patients they don’t need surgery, or that their expectations call for a different approach, because the consultation should be an examination and an honest conversation.
Frequently Asked Questions
-
Most consultations run about 45 minutes to an hour at my office on Sutter Street.
-
It varies depending on surgeon experience, facility accreditation, anesthesia, and implant type. Be cautious about choosing based on price alone. A revision to fix a subpar result costs more than doing it right the first time.
-
It is one of the most studied procedures in plastic surgery with a well-established safety record. Complications including infection, capsular contracture, or implant malposition are possible, and I review each risk during the consultation. A board-certified plastic surgeon and an accredited facility are the two biggest factors in reducing risk. [LINK: San Francisco Breast Augmentation FAQ: 15 Top Questions Answered Clearly]
-
Yes, you need a responsible adult to drive you home and stay overnight. Many patients coming from Marin, the East Bay, or the Peninsula arrange for someone to be with them for the first 24 hours.
-
That is completely normal, and most patients work through it during the consultation. Between the measurements, the sizers, and an honest conversation about proportions, most patients leave confident. An exchange is always an option down the road, but it means another surgery, so I invest the time upfront.
-
Modern implants are durable, and the FDA recommends monitoring them over time. If everything looks and feels good, there is no automatic reason to operate, and I go over this in detail during the consult so you know what to expect.
Summary
A well-run consultation is education and planning, not persuasion. Do your homework, come prepared, and ask hard questions. You should leave understanding your anatomy, your options, and what recovery looks like day by day.
Schedule Your Consultation
Call 415-362-1846 to book at my San Francisco office at 450 Sutter Street, Suite 1440, or at my Alameda location at 1403 Park Street.
[LINK: Redefining the San Francisco Silhouette: 5 Essentials of Modern Breast Augmentation]
Follow and Connect with me on my social media!